
Follow the below steps to log into QAS - Client:
-
Double-click on the Qualitia Client setup.
-
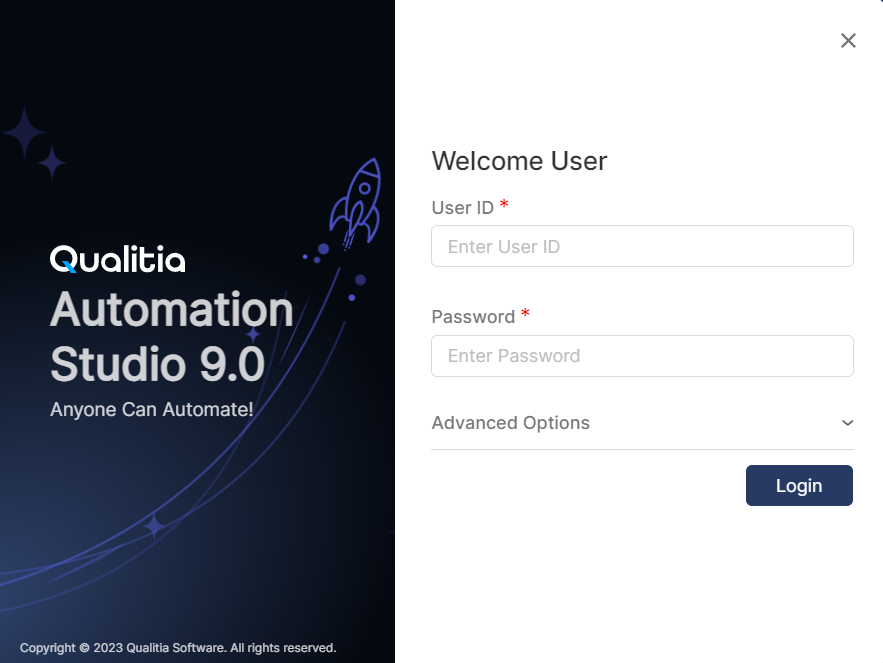
The Login screen window as seen below will appear on the screen.
Note: If you have not set the Java path, a pop will appear on the screen to set the Java path with a browse button.
-
Enter the User ID and Password.
-
If you want to login to a particular client data, you can enter server URL in the Server URL field.
-
Click Login.
Update QAS - Client
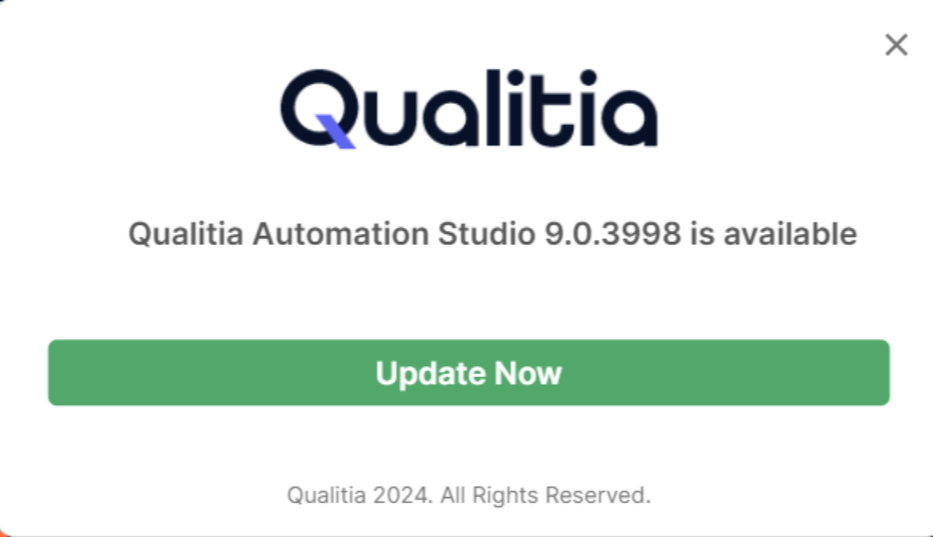
After the QAS - Server is updated, an update prompt will appear when you launch QAS - Client. Click Update Now to proceed and let the process finish. Once the update is complete, you can resume using QAS.
Take a Tour
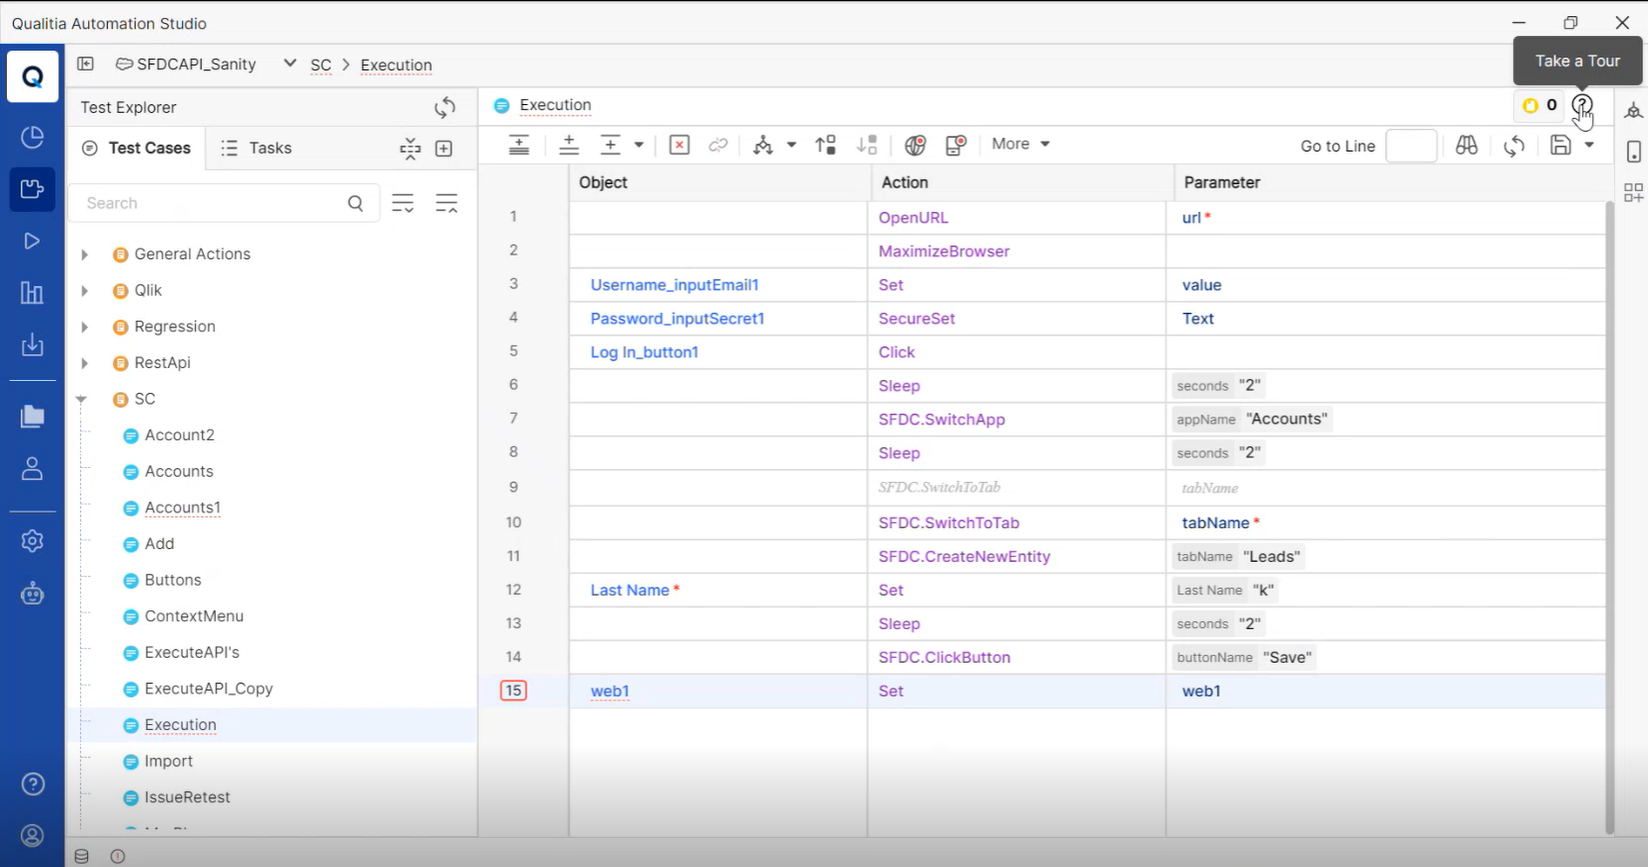
Qualitia Automation Studio (QAS) helps you to take a guided tour of the entire QAS - Client and understand its functionality.
-
Click the ? icon located in the top-right corner of the screen.
-
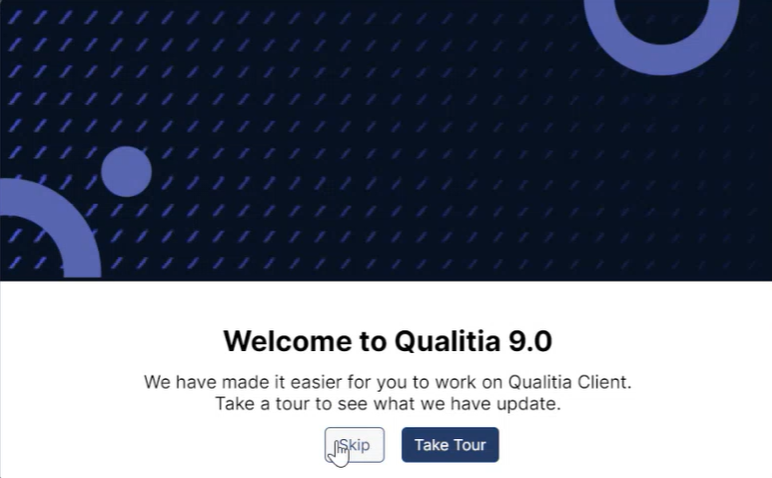
Clicking ? icon will open a Welcome to Qualitia 9.0 window as shown in the screenshot.
-
Click Take Tour to start the tour; otherwise, click Skip.
-
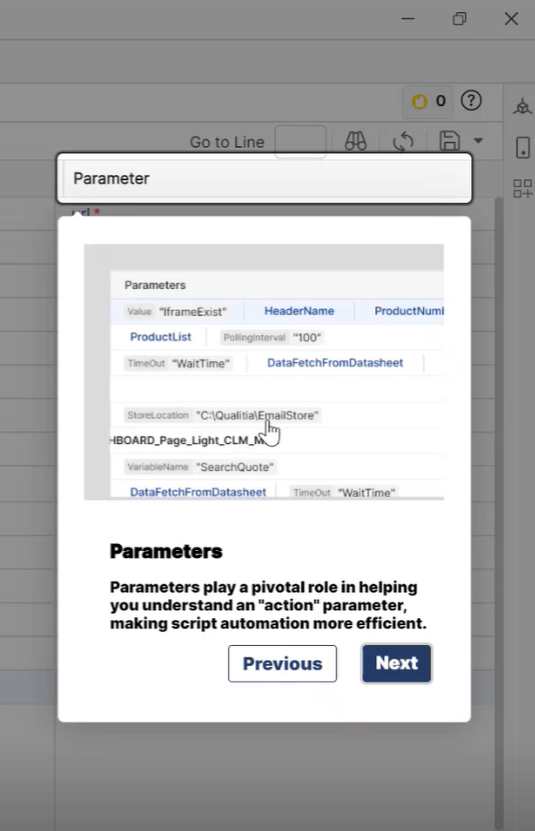
You will see a popup highlighting the feature along with its definition.
-
Click Next to go to move forward and click Previous to go back.
-
At the final step, click Done to close the tour.
-
A popup message will appear saying Congratulations.
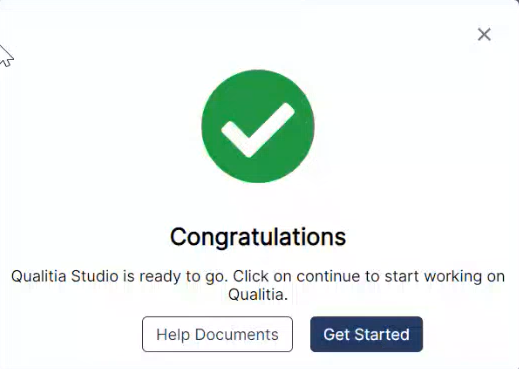
When you log in to QAS - Client for the first time you will be prompted to take a tour.
🔧 Got a problem? Let’s fix!
-
Error: Unable to connect to Qualitia Server at ‘http://192.168.34.45:8887/’
Ensure that the server is available and accessible from your network and the network connection is stable.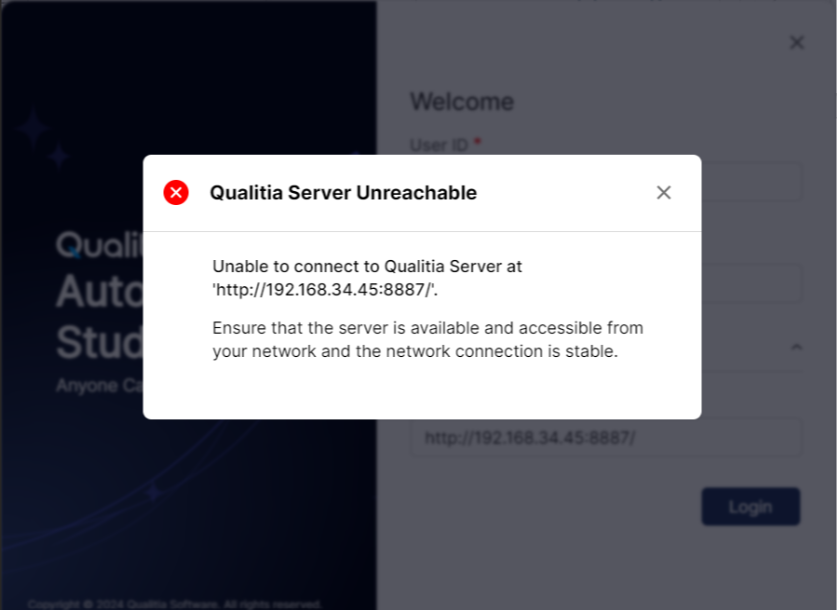
-
Solution: You will get the above error message while logging in to the Qualitia - Client if you are trying to connect to a lower version of Qualitia Server using 9.x Client. Make sure to enter the correct server URL of 9.x to establish a successful connection as we do not support any of the older versions than 9.x using 9.x Client.
-
📞📚 Here to Help: Support and Resources
If you have questions that are not addressed in the documentation, you may raise them here in the Qualitia Community.